March 01, 2008
Building a new box - Part 2
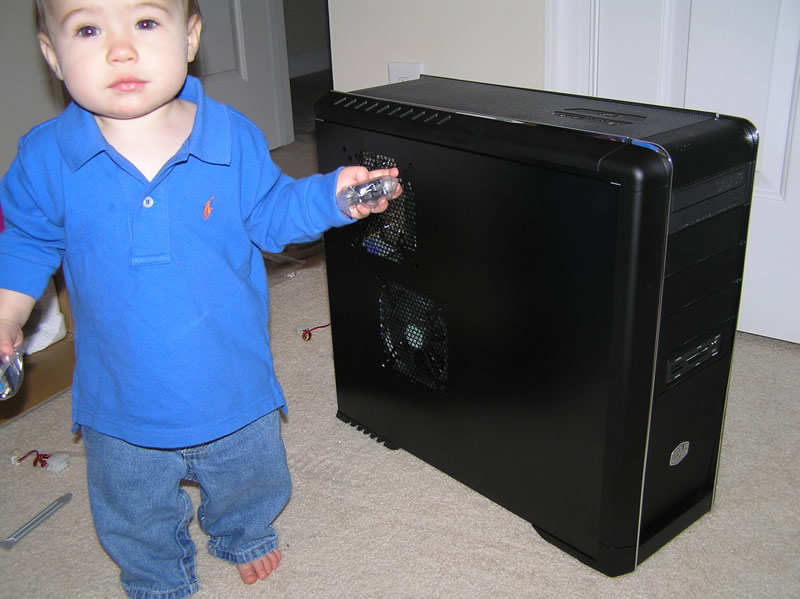
Click 'more' to see the build. Here's a picture of my helper to get you started.

On to the build
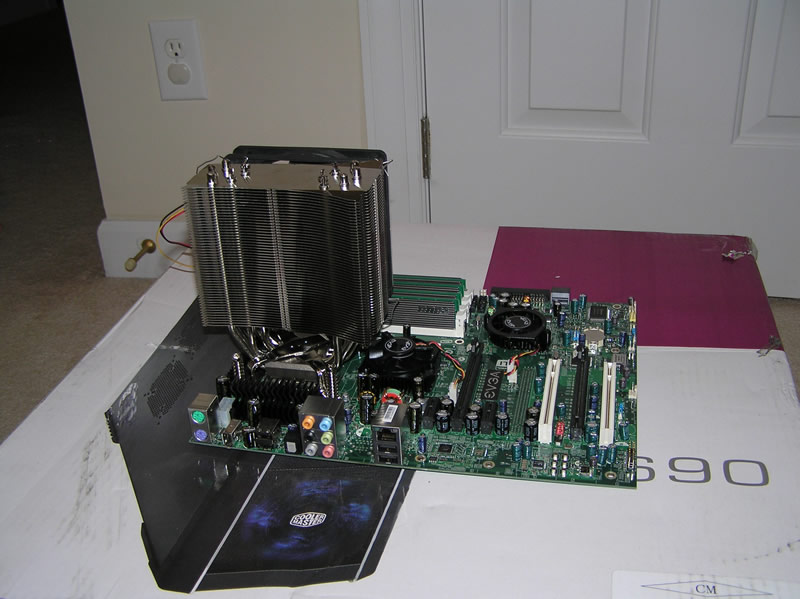
To start, I assembled the motherboard, CPU, memory and CPU cooler. I did this outside the case since the cooler required some detailed work. There is a backplate that must be installed on the back of the mother board that is used to keep the cooler in place over the CPU without crushing it. The CPU insertion is pretty simple, as is the memory installation. I used Artic 5 thermal paste on the CPU to ensure good heat transfer to the cooler. After the cooler was in place, I added a 120mm fan to it in order to keep things cool while keeping things quiet.

As you can see, the CPU cooler is a hog. Hopefully I can get it in the case without hurting anything. One note - see those little fans on the motherboard? I found out later that they are quite loud. If you are looking for a silent PC, get a mother board that is fanless.
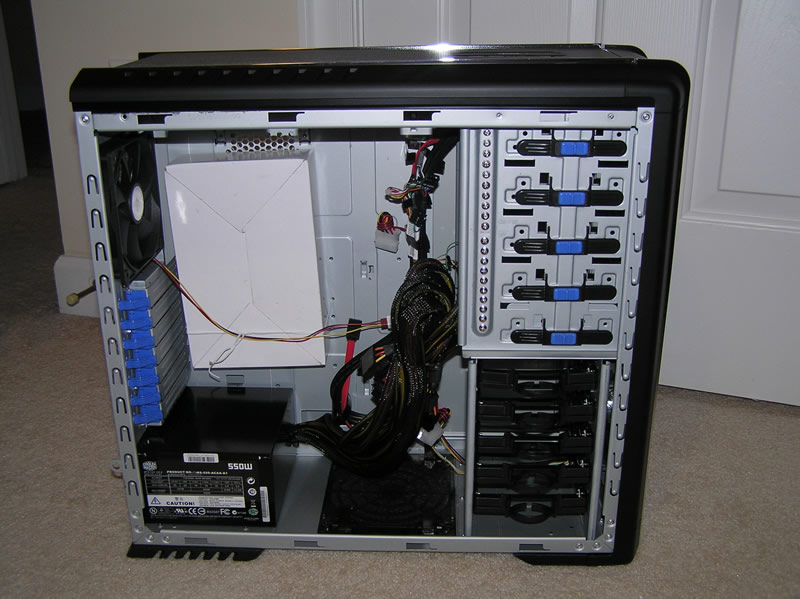
Next, I prepped the case. This was a nice case to work in, with plenty of room and some cable guides around where the motherboard will set. The power supply is at the bottom, which helps cooling but did cause some concern about power cables reaching where they need to go.

The case after I got it out of the box. This case has 3 120mm fans, so it should keep things cool relatively quietly. Along the right hand side you can see the hard drive cages, which made hard drive installation very simple. The white box has all the gear I'll need to mount everything.
The first step was installation of the mother board spacers. These are little bronze or steel screws that connect to the case and provide about 1/2 inch clearance between the case and motherboard. That way nothing shorts out. The motherboard rests on these spacers and are screwed down to them through ready made holes that are electrically isolated. But, be careful as you do not want to overtighten these screws and crush the motherboard PCB.
Once the spacers are in, the motherboard follows.

As you can see, there isn't much clearance around the CPU cooler - but it fit.
Now to wire up everything else, starting with the drives. Instead of a floppy drive, I got a 40 in 1 card reader to fill that slot. Now I can read all sorts of removable media, plus it got me a front mounted USB slot. I added a DVD-RAM drive from my old computer, and installed the hard drive.
Here's the front of the case prepped for DVD installation and with the card reader installed.

Next, the graphics card gets installed. I went with a nVidia 8800GT 512MB from PNY.

Now to finish up the wiring. First, all the data cables, then the fans. The fans connect to risers on the motherboard so that they can be controlled by the BIOS. That way the machine gets the cooling it needs, but at lower fan speeds which means less noise. Finally, wire up all the power connections and its ready to go.

Now, to see if it works.
And...
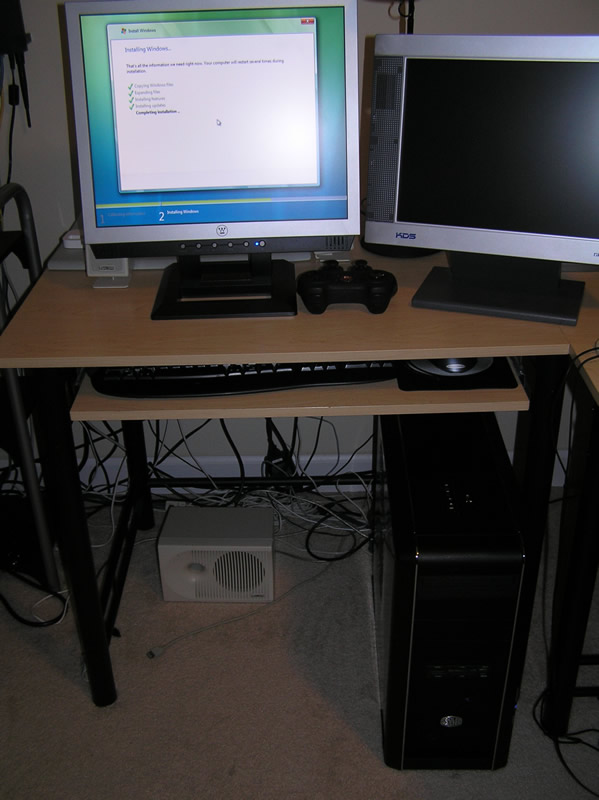
It boots on the first try. It must have been Evan's help. Now to install Windows Vista.

Next stop, performance and over clocking.
Comments are disabled.
Post is locked.

On to the build
To start, I assembled the motherboard, CPU, memory and CPU cooler. I did this outside the case since the cooler required some detailed work. There is a backplate that must be installed on the back of the mother board that is used to keep the cooler in place over the CPU without crushing it. The CPU insertion is pretty simple, as is the memory installation. I used Artic 5 thermal paste on the CPU to ensure good heat transfer to the cooler. After the cooler was in place, I added a 120mm fan to it in order to keep things cool while keeping things quiet.

As you can see, the CPU cooler is a hog. Hopefully I can get it in the case without hurting anything. One note - see those little fans on the motherboard? I found out later that they are quite loud. If you are looking for a silent PC, get a mother board that is fanless.
Next, I prepped the case. This was a nice case to work in, with plenty of room and some cable guides around where the motherboard will set. The power supply is at the bottom, which helps cooling but did cause some concern about power cables reaching where they need to go.

The case after I got it out of the box. This case has 3 120mm fans, so it should keep things cool relatively quietly. Along the right hand side you can see the hard drive cages, which made hard drive installation very simple. The white box has all the gear I'll need to mount everything.
The first step was installation of the mother board spacers. These are little bronze or steel screws that connect to the case and provide about 1/2 inch clearance between the case and motherboard. That way nothing shorts out. The motherboard rests on these spacers and are screwed down to them through ready made holes that are electrically isolated. But, be careful as you do not want to overtighten these screws and crush the motherboard PCB.
Once the spacers are in, the motherboard follows.

As you can see, there isn't much clearance around the CPU cooler - but it fit.
Now to wire up everything else, starting with the drives. Instead of a floppy drive, I got a 40 in 1 card reader to fill that slot. Now I can read all sorts of removable media, plus it got me a front mounted USB slot. I added a DVD-RAM drive from my old computer, and installed the hard drive.
Here's the front of the case prepped for DVD installation and with the card reader installed.

Next, the graphics card gets installed. I went with a nVidia 8800GT 512MB from PNY.

Now to finish up the wiring. First, all the data cables, then the fans. The fans connect to risers on the motherboard so that they can be controlled by the BIOS. That way the machine gets the cooling it needs, but at lower fan speeds which means less noise. Finally, wire up all the power connections and its ready to go.

Now, to see if it works.
And...
It boots on the first try. It must have been Evan's help. Now to install Windows Vista.

Next stop, performance and over clocking.
Posted by: jcallery at
06:59 AM
| Comments (2)
| Add Comment
Post contains 573 words, total size 5 kb.
1
Glad to see you ditched the floppy--I like that media reader idea...it will make getting pictures from your camera on there easier too. In fact, it's prompted me to think about replacing my floppy foot print. How does it connect on the inside? Do you have to have a special connection to the mother board?
Posted by: Brian Megilligan at Sat Mar 1 15:28:28 2008 (molcZ)
2
The card reader connects to a USB riser on the motherboard. Most modern motherboards will have one or two sets of pins on them in order to attach additional USB ports, usually ones that are on the front of the case. Or, in my case, two USB ports on top and then the card reader.
Posted by: jcallery at Sat Mar 1 18:49:09 2008 (zXDLI)
14kb generated in CPU 0.0268, elapsed 0.1203 seconds.
42 queries taking 0.1043 seconds, 77 records returned.
Powered by Minx 1.1.6c-pink.
42 queries taking 0.1043 seconds, 77 records returned.
Powered by Minx 1.1.6c-pink.


